How to Clean a PC
Keeping your PC clean is essential to ensure your computer continues to perform as well as it did when it was brand new.

Why is cleaning my PC important?
Keeping your PC hardware clean can help your computer to run smoothly and even extend the lifespan of your computer. When you regularly clean your PC you are also protecting the technology & your data, aiding your computer to perform better and reducing the risk of breakdown.
Dust can literally suffocate your PC hardware causing overheating or other damage to the internal parts of your system.
How often should I clean my PC?
This really depends on your environment and the factors to which your PC hardware is exposed to. For example, keeping your PC on the floor can allow for more dust particles to get in, whereas keeping it on your desk or at a table can reduce the amount of dust which is likely to get inside.
Other factors you may want to consider include smoking near your PC as this can allow ash to build up inside your PC fans and around your keyboard. As well as this, pet hair can also increase the build-up of dust and hair particles in your PC.
So – depending on how many of these factors apply to you may determine your cleaning schedule. Without any factors present you would want to do a full clean around every 6 months. If these factors are present, to keep your PC in its best working order, we would recommend you carry out a deep clean once every 2-3 months.
Again, it is important to remember, that avoiding any of the factors causing your PC to get dusty/dirty can extend your PC’s lifespan, and so save you money long term.
What do I need to clean my PC?
Although there are kits you can buy to clean your PC, you can also use a variety of household items to keep the cost low.
Below is a list of all the possible equipment you should need to give your PC the full deep clean it deserves.
- Screwdriver – this is required to disassemble your computer and remove the case
- Toothbrush, paintbrush or any tool with small bristles
- Cotton pads
- Q tips
- Microfiber cloth
- Can of compressed air
- Isopropyl alcohol or glass cleaner
- Water
- Pen or pencil
- Scissors
A step-by-step guide to cleaning your PC
- Turn your PC off and unplug the power supply – Also ensure you leave enough time for your PC to cool down.
- Use a ventilated space or take your PC outside if possible – If you are unable to do either of these things, you may want to keep a hoover close by to clean up your desk and floor after you have completed your cleaning. HOWEVER – it is important to note that you SHOULD NOT use a household hoover to clean your computer, this can risk damage to your PC from static electricity.
- Wipe down your PC with a soft microfiber cloth – This step is mainly for the outside of your hardware removing any dust, fingerprints or dirty marks. If you need to give it a more vigorous clean, you can use the isopropyl alcohol or glass cleaner at this stage.
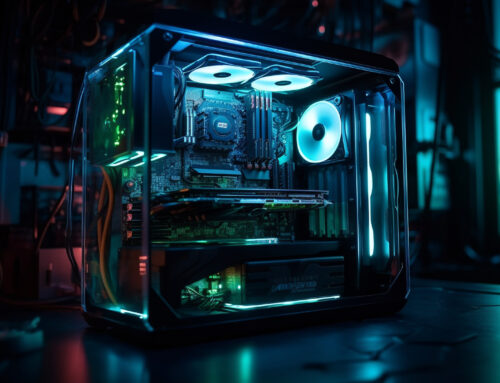
- Remove the side panels and front panel of your case – Here you can use the compressed air to remove any dust or hair particles. Ensure you pay attention to any slots, grooves and tight spaces. To open your PC tower you may encounter traditional screws, metal or plastic clamps with release mechanisms or thumbscrews which can be loosened with your fingers.
- Clean the fans – First, begin with your compressed air to remove any loose dust particles. Then take your pencil or Q tip to give the fans a proper clean. If your fan is particularly dirty, you can apply some isopropyl alcohol to a Q tip.
- Clean your hardware – starting with your CPU cooler and sockets. Disconnect the cooler from the motherboard and remove dust with a Q tip soaked in isopropyl alcohol.
Next, you’ll want to clean your graphics card. Start by taking it out of your PC case & take to it with another alcohol-soaked Q tip. Then use your microfiber cloth to clean the backboard.
Lastly, you should clean your motherboard, although this shouldn’t be too dusty there may be some dust build-up on the top of the heatsink or protruding RAM slots. This is where your toothbrush can come in handy.
- Clean your keyboard – Start by turning your keyboard upside down to dislodge any dirt and dust. After this, grab your pencil or Q-tips to get in between the keys. Some PC models may allow you to remove keys to really give your keyboard a full clean.
- Lastly, put it all back together!
If you have had your PC for a number of years, it may be time to start looking for your next set up. Techfident’s online shop has a huge variety of high street brands providing you with all the tech you could possibly imagine.