How to Remove Your Hard Drive from Your Laptop: A Comprehensive Guide
Upgrading your laptop’s hardware or troubleshooting technical issues might require you to remove the internal hard drive (HDD). Don’t let the prospect of delving into your laptop’s internals intimidate you – with the right guidance, removing a hard drive can be a manageable task that opens doors to enhancements and repairs. In this guide, we’ll provide you with step-by-step instructions on removing your laptop’s hard drive, along with additional insights to ensure a smooth process.

Why Remove Your Laptop’s Hard Drive?
The hard drive is a vital component of your laptop, storing your operating system, applications, files, and more. There are several reasons why you might need to remove it:
- Upgrading: Swapping out your old HDD for a solid-state drive (SSD) can significantly boost your laptop’s speed and responsiveness.
- Data Retrieval: If your laptop is no longer operational, removing the hard drive allows you to salvage your valuable data.
- Troubleshooting: Diagnosing hardware or software issues often requires accessing the hard drive.
Precautions Before You Begin:
– Static Electricity: Discharge any static electricity from your body by touching a grounded object before handling internal components.
– Warranty: Opening your laptop may void your warranty. If you’re unsure, consult your laptop’s warranty terms or consider seeking professional assistance.
– Manufacturer Guide: Laptop designs vary, so consult your laptop’s manufacturer guide for specific instructions.
Steps to Remove Your Laptop’s Hard Drive:
- Gather Your Tools:
Before you start, ensure you have the necessary tools: a screwdriver (usually a Phillips-head) and an anti-static wrist strap if available.
- Backup Your Data:
If your laptop is operational, back up your data to an external drive or cloud storage to prevent any data loss during the removal process.
- Shut Down and Disconnect:
Turn off your laptop and disconnect all cables and peripherals.
- Locate the Hard Drive Bay:
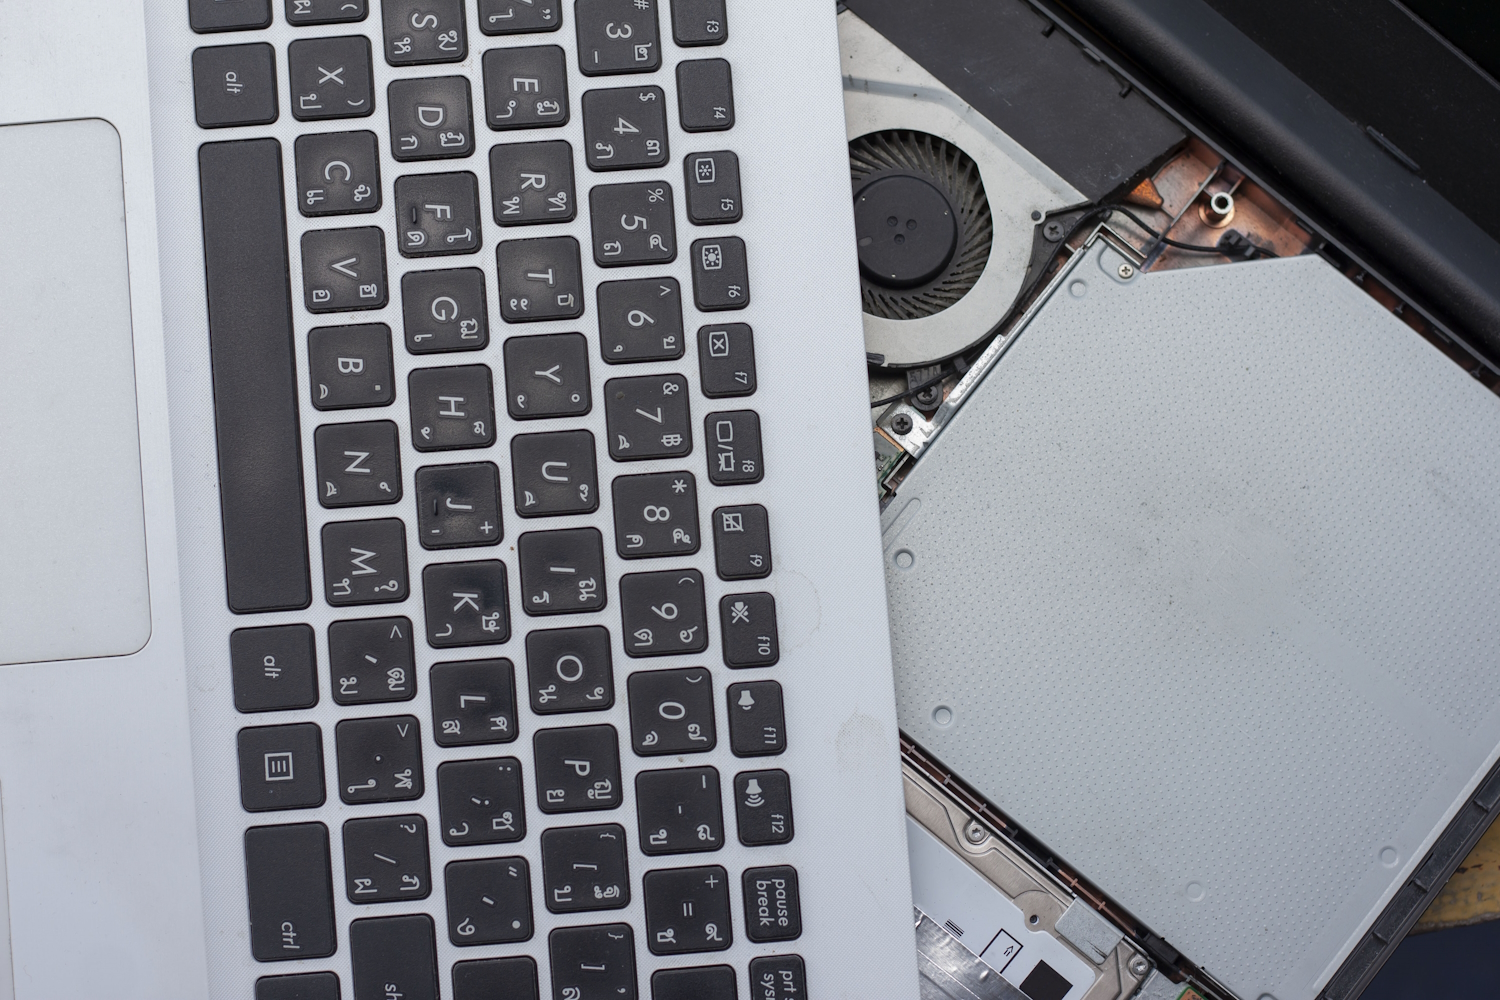
The hard drive bay is typically found on the bottom of your laptop. Refer to your manufacturer’s guide to identify the specific location.
- Remove the Cover:
Using your screwdriver, carefully remove the screws securing the hard drive bay cover. Keep track of these screws as you’ll need them later.
- Check for Caddy:
Some laptops use a caddy or bracket to secure the hard drive in place. If your laptop has one, locate and remove any screws holding the caddy in position.
- Release the Hard Drive:
Gently pull or slide the hard drive out of the bay. If the hard drive is connected to a cable or ribbon, disconnect it by gently pulling the connector away from the drive. Be cautious not to damage any connectors.
- Store the Hard Drive Safely:
If you plan to reuse the hard drive, store it in an anti-static bag or a safe, dry place to prevent static discharge or physical damage.
Additional Tips and Considerations:
– Labelling Screws: It’s wise to place each set of screws in separate containers or labelled bags to avoid confusion during reassembly.
– Grounding Yourself: If you don’t have an anti-static wrist strap, regularly touch a grounded metal surface to discharge static electricity while working.
– Professional Assistance: If you’re uncomfortable with these steps or encounter challenges, seeking help from a professional technician is a viable option.
Further Enhancements and Considerations:
– Upgrade to an SSD: If you’re removing your old HDD for an upgrade, consider installing a solid-state drive (SSD). SSDs offer faster performance and improved durability compared to traditional HDDs.
– Data Migration: When upgrading to an SSD, consider using data migration software to transfer your data from the old HDD to the new SSD seamlessly.
– Data Security: If you’re disposing of the old hard drive, ensure you securely erase or physically destroy it to prevent unauthorised access to your data.
Summary
Removing your laptop’s hard drive doesn’t have to be an intimidating endeavour. By following these step-by-step instructions and taking the necessary precautions, you can successfully remove your laptop’s internal hard drive for upgrading, troubleshooting, or data retrieval purposes. Always refer to your manufacturer’s guide for specific instructions tailored to your laptop model.
Remember, the world of laptop hardware is continually evolving, and DIY enthusiasts and casual users alike can benefit from learning basic hardware maintenance skills. Whether you’re seeking improved performance or need to salvage important data, the ability to remove your laptop’s hard drive is a valuable skill that empowers you to take control of your tech experience.
Now, armed with the understanding to remove your laptop’s hard drive, you’re poised to embark on a journey of exploration and optimisation, shaping your laptop to meet your evolving needs.
Whether it’s turbocharging your laptop’s speed by upgrading to an SSD, rescuing invaluable data, or diagnosing issues, these steps empower you to take control of your laptop’s hardware.
At Techfident, we’re committed to equipping you with insights that go beyond the surface, helping you navigate the intricacies of tech with confidence. From maintenance to upgrades, we’re your trusted source for enhancing your technology experience.


